The Yellow-Robed Squire Quest: A Journey to the Wind Tamer Vessel
Embark on the epic 2026 quest for the Wind Tamer Vessel, a legendary artifact, by aiding the enigmatic Yellow-Robed Squire. This strategic journey demands preparation and culminates in a pivotal battle against Guai, Fuban, where the vessel neutralizes devastating sandstorms.
In the sprawling and perilous world of 2026, adventurers seeking legendary power undertake a long and arduous questline initiated by the enigmatic Yellow-Robed Squire, culminating in an epic confrontation with the colossal beetle Guai, Fuban. This narrative journey is not merely a test of combat prowess but a series of strategic tasks that ultimately bestows the coveted Wind Tamer Vessel. This artifact proves pivotal, as it neutralizes the devastating sandstorms conjured by the Yellow Wind Sage during the climactic battle, granting the Destined One a significant tactical advantage. The quest weaves through diverse landscapes, from desolate cliffs to ancient temples, demanding preparation, persistence, and skill.
🧭 Initiating the Quest: Finding the Squire
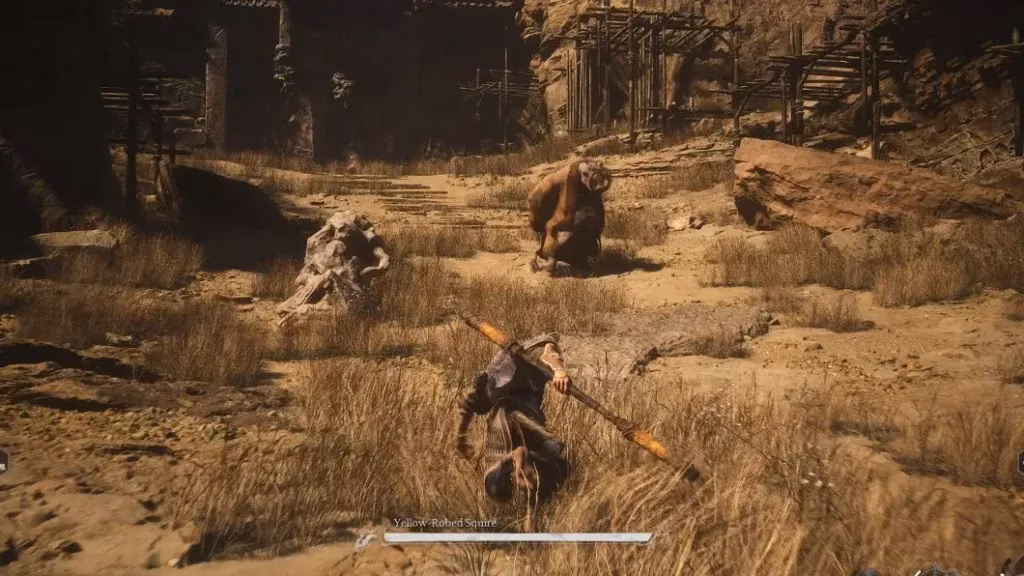
To embark on this adventure, one must first locate the Yellow-Robed Squire. His journey begins at the Rockcrest Flat Shrine in the Fright Cliffs region. From this sanctuary, head left and navigate through a gap vigilantly guarded by a Spearbone enemy. After traversing this rocky passage, you will enter a vast, open cavern. Here, near the center, lies the Yellow-Robed Squire in a deep, intoxicated slumber. Speaking to him reveals his immediate predicament: he is far too inebriated to be of any help and desperately requests a Sobering Stone to clear his head.
🪨 Gathering Essential Items
Before the quest can truly commence, specific items must be procured. These are not mere trinkets but the keys to progressing the narrative.
-
Sobering Stone: This crucial item can be obtained through two primary methods:
-
Scouring the village at the Yellow Wind Formation and breaking various pots scattered throughout the area.
-
Purchasing it from the Man-in-Stone merchant, but only after successfully completing his associated questline.
-
-
Jade Lotus Root: A simpler component to acquire, these roots grow abundantly in watery areas and are generally easy for a keen-eyed explorer to find.
-
Arhat Gold Piece: This is the final and most challenging item to secure. It is a unique drop obtained only by defeating the First Rat Prince during the Prince of the Flowing Sands encounter. This battle is a prerequisite for the quest's conclusion.

📜 The Squire's Requests
Once you possess the Sobering Stone, provide it to the drowsy Squire. Revitalized, he announces his intention to travel to the Crouching Tiger Temple in search of sustenance. To meet him there, fast travel using the Temple Entrance Shrine. Upon reunion, you'll find him deeply dissatisfied with the temple's culinary offerings—specifically, some unappetizing half-rotten Rat Guai. His next demand is for a fresh Jade Lotus. Presenting this to him finally satiates his hunger, and he departs once more, leaving behind a cryptic hint about a "gold piece."

⚔️ Confronting the Squire and the Tiger Vanguard
After successfully obtaining the Arhat Gold Piece, return to the Squire's original resting place in the Fright Cliffs. It is imperative to rest at a nearby Shrine beforehand, as this meeting turns hostile. The Yellow-Robed Squire, for reasons of his own, immediately attacks.
Combat Strategy vs. Yellow-Robed Squire:
-
Primary Challenge: The Squire employs sand veils to obscure his attack animations, making them difficult to predict and parry.
-
Advantage: Fortunately, he possesses relatively low health, making the fight a burst-damage race.
-
Recommended Tactics:
-
Utilize your Spirit to activate a powerful Transformation spell.
-
Follow up with high-damage abilities like A Pluck of Many.
-
Use crowd-control spells such as Immobilize to create safe damage windows.
-

Upon his defeat, follow the Squire through a newly revealed door, which leads into the Kingdom of Sahali. Shortly after entering this new domain, you will face a formidable opponent known as the "Tiger Vanguard." This entity bears a striking resemblance to the boss of the Crouching Tiger Temple but is a somewhat diminished version.
Combat Strategy vs. Tiger Vanguard:
| Aspect | Details |
|---|---|
| Health | Significantly lower than the temple boss, but still dangerous. |
| Attack Pattern | Charges with claw swipes followed by a blade finisher. Dodge left and right to avoid. |
| Aerial Attack | Faster than the original Tiger Vanguard's, but the landing still leaves a brief vulnerability window. |
| Overall Strategy | The boss is agile and aggressive but has low health. Stay close, dodge diligently, and unleash your strongest Spirit abilities and Transformation spells to burn through his health bar rapidly. |
After this victory, remember to rest at the Shrine to replenish your health and Spirit before proceeding to the grand finale.
🐞 The Epic Battle: Fuban and the Yellow Wind Sage
The quest culminates in a dramatic alliance with the Yellow Wind Sage against the gigantic, heavily armored beetle, Fuban. However, the Sage's power is initially nullified because Fuban possesses the Wind Tamer Vessel. Therefore, the Destined One must solo the first phase of the battle.
Phase 1: Solo Confrontation
-
Fuban's Weak Point: His armor is nearly impenetrable except for his exposed arms. Focus all attacks here.
-
Positioning is Key: Always position yourself on the outside of his arms, never between them. This provides the clearest view of his telegraphed attacks, which include powerful swipes and a crushing head slam.
-
Subterranean Assaults: When Fuban submerges into the sand, he will either ambush from below or attempt to impale you with his horn. Watch the sand movement closely and dodge as he emerges.
At approximately 66% health, Fuban initiates a transition phase, repeatedly diving and attacking from below or with crushing leaps. The goal here is pure survival—avoid each attack and wait it out. Successfully enduring this phase triggers a scripted event: the Yellow Wind Sage uses ritual drums to temporarily stun Fuban, creating a critical window for you to seize the Wind Tamer Vessel.
Phase 2: Allied Assault
With the vessel secured, the Yellow Wind Sage joins the fray as a powerful ally. His attacks are substantial, shifting the dynamic of the battle significantly.
-
New Role: Your primary objective becomes support and survival. Focus on dodging Fuban's relentless attacks and staying alive.
-
Let the Sage Shine: The Yellow Wind Sage will deal considerable damage. Your well-timed strikes can complement his assault, but avoiding damage is paramount to seeing the battle through to its victorious end.
This extensive questline, from rousing a drunken squire to partnering with a sage against a colossal beast, remains a defining challenge for adventurers, rewarding perseverance with one of the land's most useful artifacts, the Wind Tamer Vessel.