
How I Beat the Yellow Wind Sage in Black Myth: Wukong
Black Myth: Wukong's Yellow Wind Sage boss guide offers essential tips and strategies for overcoming this intense, mandatory battle.
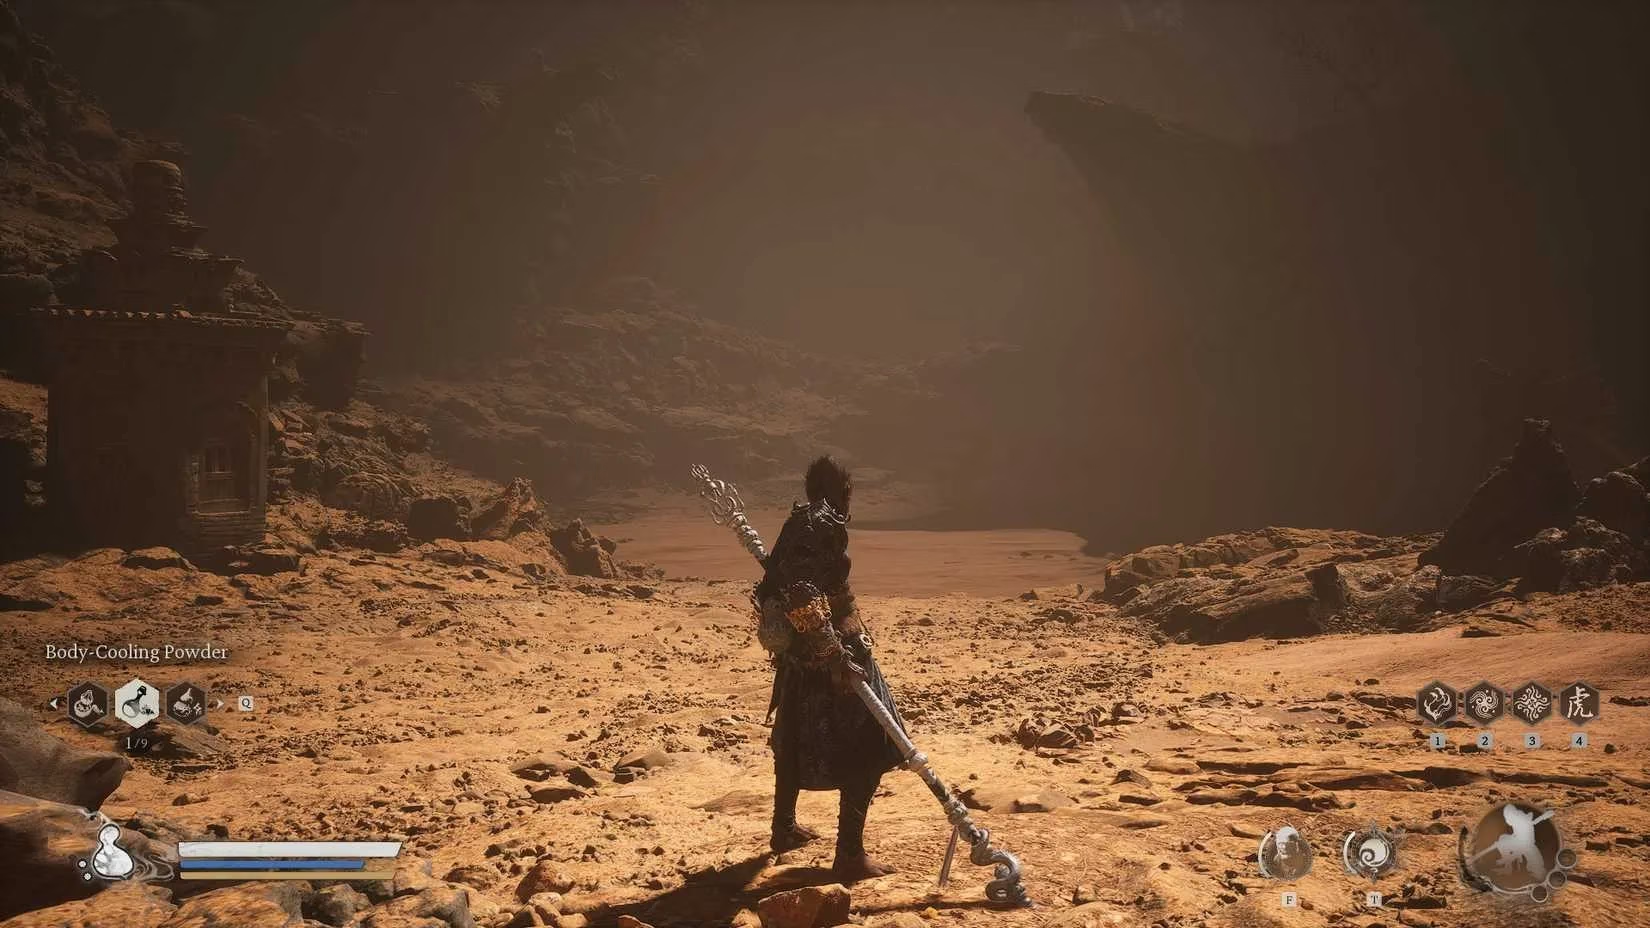
I still remember the first time I stepped into the sandstorm and watched the Yellow Wind Sage rise from the dunes. It was Chapter 2 of Black Myth: Wukong, and I thought I was ready. I was not. Even in 2026, this mandatory boss remains one of the game's most brutal gut checks, a wall between me and Chapter 3. You cannot accidentally skip him, either. The game will not let you progress until he falls. But the arena is not always obvious: you trigger the fight by walking into the massive sandstorm, and then the cutscene begins.
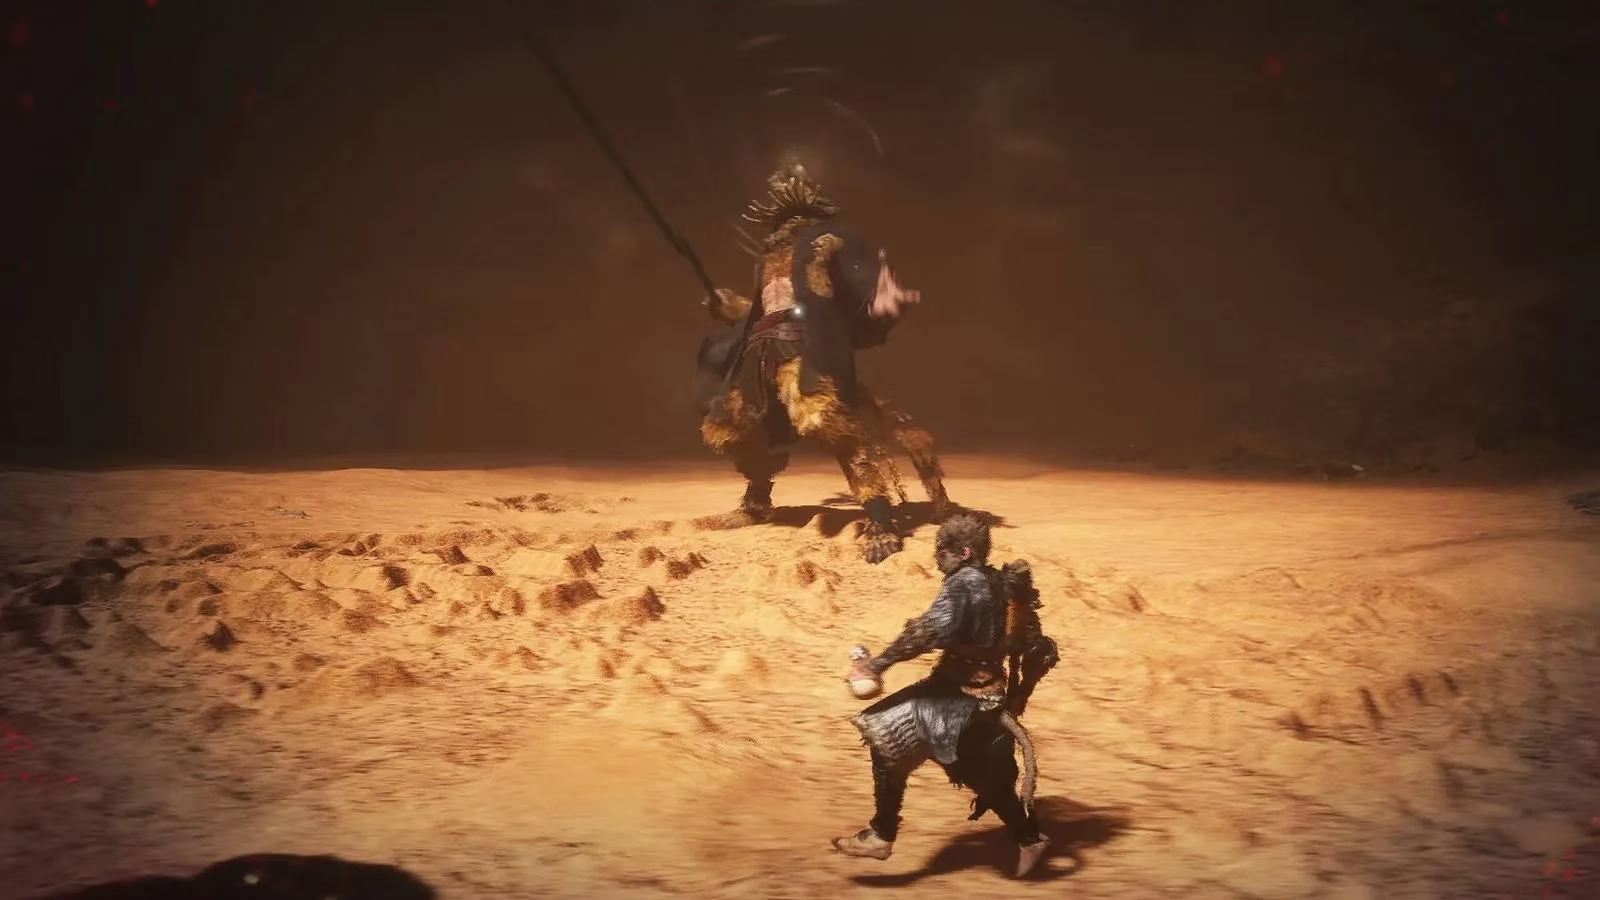
There are two shrines close to him. The first is the Windseal Gate Shrine at the Yellow Wind Formation. The second is the Cellar Shrine in Crouching Tiger Temple. If I am struggling, I always rest at the Cellar Shrine, because the run back is a bit shorter. That small convenience matters when a boss can delete my health bar in seconds. What makes him so exhausting? It is not just raw difficulty. It is the length, the phases, and the shrinking storm that turns the final minutes into a chaotic blender.
Preparation Is Half the Battle 🧪
Unlike the Wandering Wight, I cannot just leave and come back later whenever I feel like it. There is only so much game I can play before the Yellow Wind Sage blocks the path. That said, I can still delay. I can explore, level up, and make sure my skill tree and stats are as strong as possible. The most important thing I do before this fight is unlock the ability to craft medicine with Xu Dog. Once I finish the first leg of his quest and reach the Cellar Shrine, I can craft Celestial Medicines. These dramatically improve my defense, stamina, health, and mana. I can also craft consumables that boost damage or temporarily raise defense. When the boss has an enormous health bar, every small advantage helps.
Reading His Moves ⚔️
The Yellow Wind Sage is aggressive, but his tells are mostly predictable. I learned to watch two things above all: his staff and his feet. If I cannot dodge his attacks, he will make quick work of me. Here is how I handle his key moves:
| Move | What He Does | How I Dodge |
|---|---|---|
| Staff Spin | Swings his staff in a half-circle, then slams it into the sand | Dodge around his side, through the swings |
| Sand Forks | Lifts staff and slams it down, erupting forks from the sand | Dodge to the side when he raises the staff |
| Jumping Stomp | Jumps and slams his foot down in a small area | Dodge back when his feet leave the ground |
| Disengage | Swings down as he jumps away | Watch his arm drop, dodge back and reset |
| Charging Combo | Steps forward, combos, leaps into a back-handed slam, then spins | Dodge at the last second, stay close, punish at the end |
| Wind Slash | Sends a line of damaging wind at me | Dodge through or jump over; sometimes he fires three |
| Storm Spin | At about two-thirds health, spins and summons the storm | The swings are slow, so dodge through them |
| Summoned Echoes | Disappears and sends echoes to fight | Do not attack them; just dodge their one combo |
| Return Combo | Leaps back with a delayed stomp | Back away if stamina is low, or dodge through and punish |
| Punt Grab | A subtle kick that becomes a devastating grab | Watch his feet; dodge when he starts to kick, not stomp |
| Headless Spear Combo | Returns faster, summons pitchfork attacks | Keep eyes on his staff and dodge through |
| Beetle Summon | Screams, causing a sand beetle to body slam me | Dodge a little earlier than I think I need to |
| Tornado Summon | At low health, plants staff and spins hands to summon storm | Beat him down while he is busy |
| Final Combo | Sweeps with his stick in the storm | Use the glow of his spins to time dodges |
| Final Summons | Sends stronger echoes into the storm | Look for the glow of their sticks |
The Long, Ugly Middle 😤
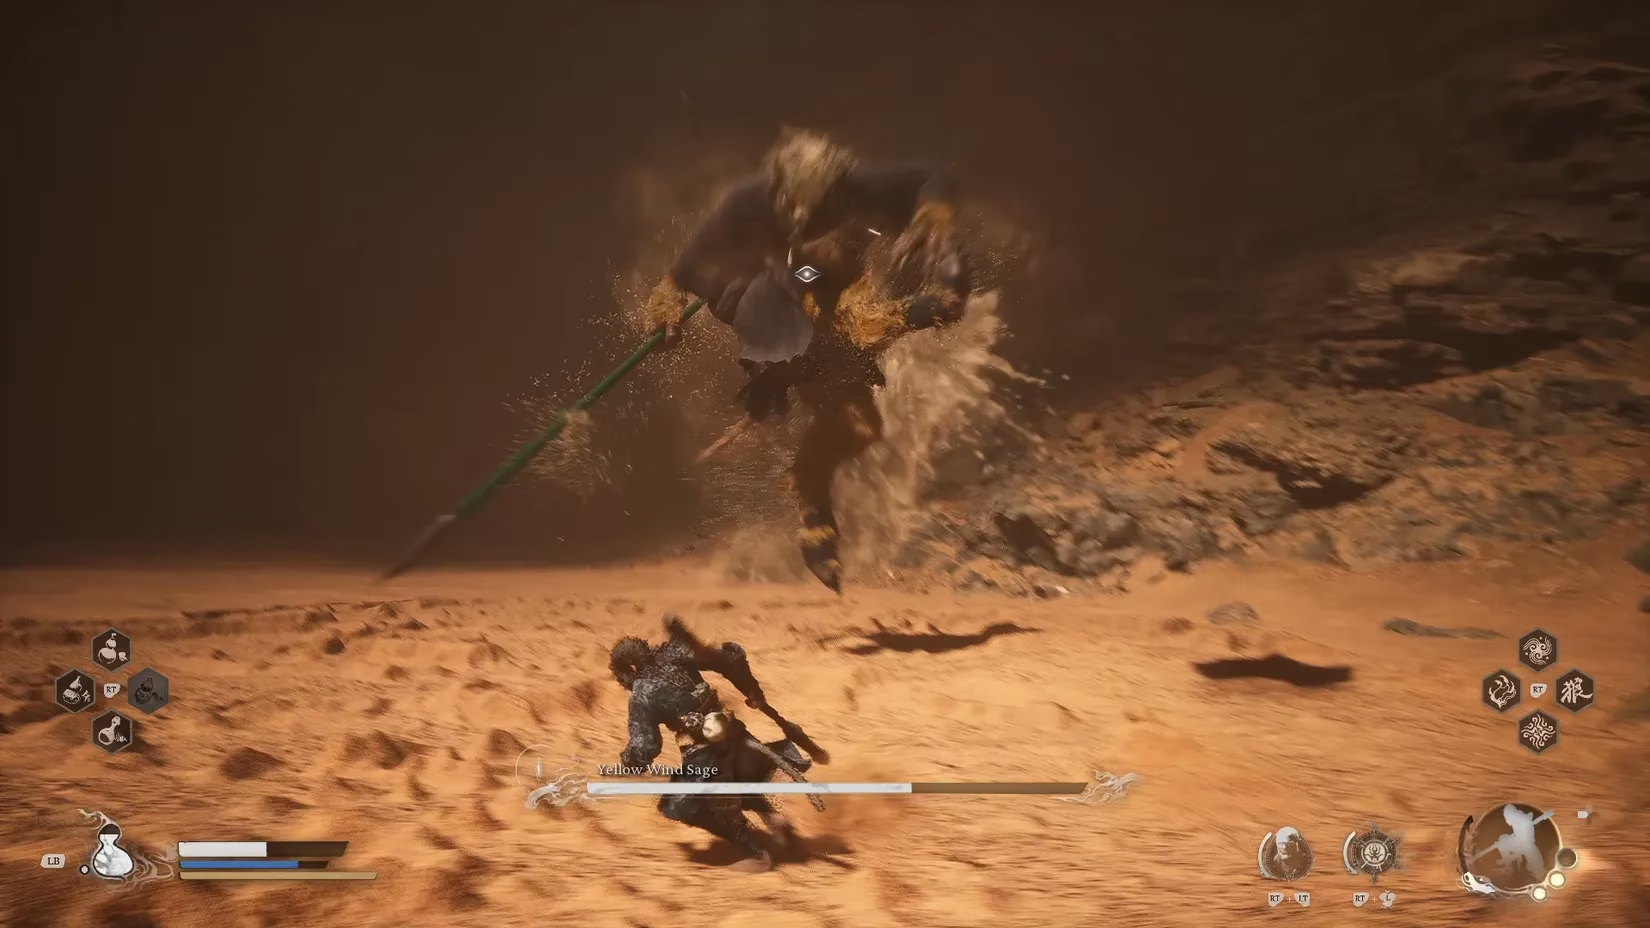
The boss is grueling for reasons beyond difficulty. First, the fight is long, so every death feels more exhausting than normal. Second, he has multiple phases where I cannot target him for short periods. That elongates the encounter and stops me from brute-forcing it. I have to learn his patterns. Third, there is the final phase. As I battle him, the storm around the arena shrinks and shrinks. He also summons mini tornadoes that spin around the ever-smaller space. I often get juggled by the storm, bounced into a tornado, and killed. The camera does not help, because it can be extremely hard to see through the sandstorm in the hectic final moments.
So I practice the first three-fourths of the fight until I can do it cleanly. Before he starts summoning storms, he is just a mildly annoying boss with a lot of health and hard hits. His move set is simple to learn, and his tells are obvious. If I am struggling, I try to get through as much of the fight as possible without using any spells at all. Just me, my stick, and the boss. That saves my mana and my tricks for the end.
Surviving the Final Storm 🌀
Once I can reliably reach the final phase, I am in business. If I have seen the 'random bullshit, go!' meme, I channel that energy. As soon as he summons the storm, I beat on him as much as possible. Eventually he will jump out and send his echoes after me again. That is a great time to use my Transformation spell for another health bar. I also chug Evil Repelling Medicine to increase my defenses. When the boss returns, I use Immobilize to stun him, summon clones with Pluck of Many, and use my Spirit Skill to slam him. The goal is not necessarily to be fast, although that helps. The goal is to use every tool I have left to defeat him in his most chaotic moment.
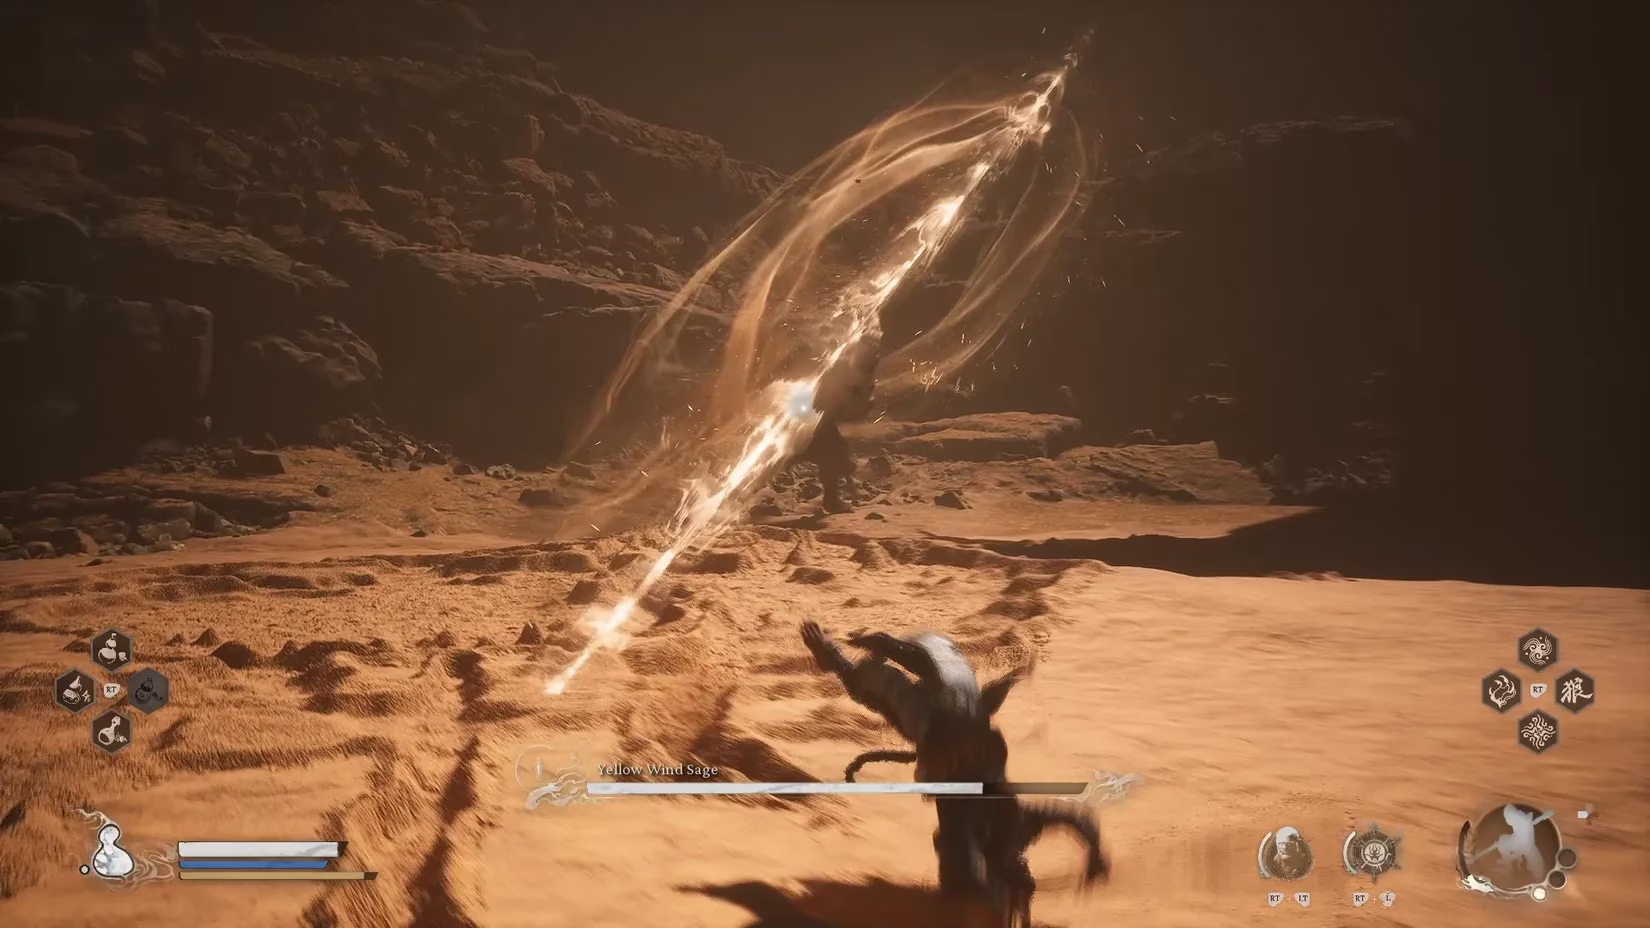
Eventually I either get the hang of this very frustrating dance or I get lucky with a good pattern in the storm. Either way, a win is a win. I enjoy my new relic, a bunch of great crafting materials, and the new nightmares waiting for me in Chapter 3. If I can beat the Yellow Wind Sage, I can beat what comes next. Right?